How to Create Multi-address Orders & Invoices via CSV Upload
Wholster allows both you and your customers to create large multi-address orders by uploading pre-existing CSV / Excel spreadsheet data. This can be quite beneficial for corporate gifting orders, where a customer would like to send a one, or many items to a large number of addresses.
In order to create a multi-address checkout or invoice via CSV, follow the below steps.
- Log in to your Wholster account, and navigate to the catalog by clicking the “Create Order” button.
- Once in the catalog view, in the left hand side of the page, click the link to the CSV / Excel tool.
https://wholster.com/shop/orders/csv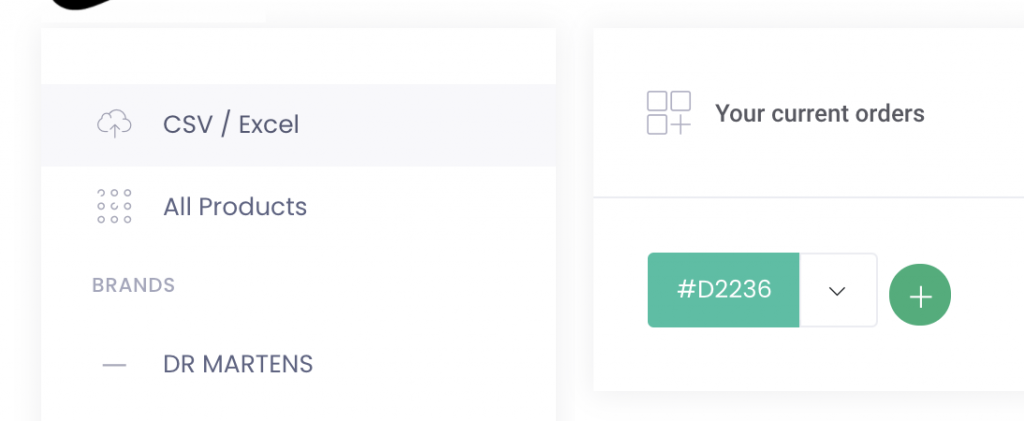
- If you have an existing file with addresses in it, format the file to have the same columns as the CSV upload tool. Optionally, you can click the “Download Blank File” button, and fill out the file in the spreadsheet program of your choice.
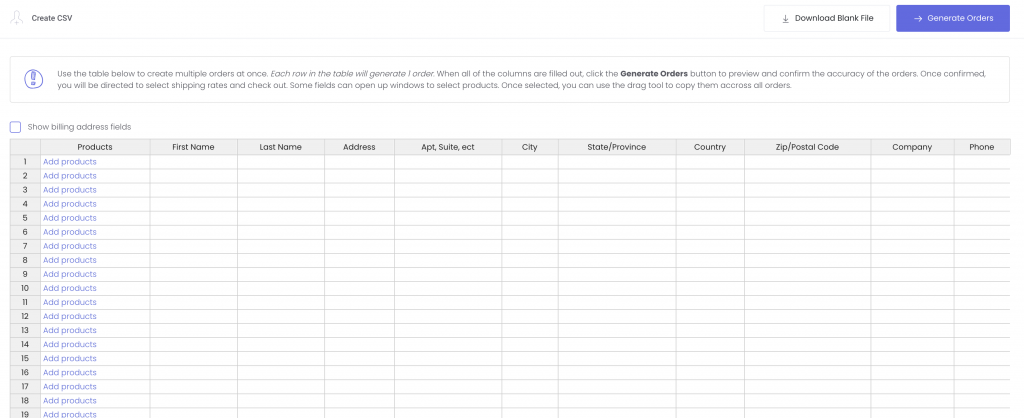
- Once your spreadsheet is configured in the same format at the upload tool, copy all of the cells to your clipboard (CMD “A” / CTRL “A”, then CMD “C” / CTRL “C”), and paste the values into the upload tool.
Filled out spreadsheet example shown in Mac Numbers: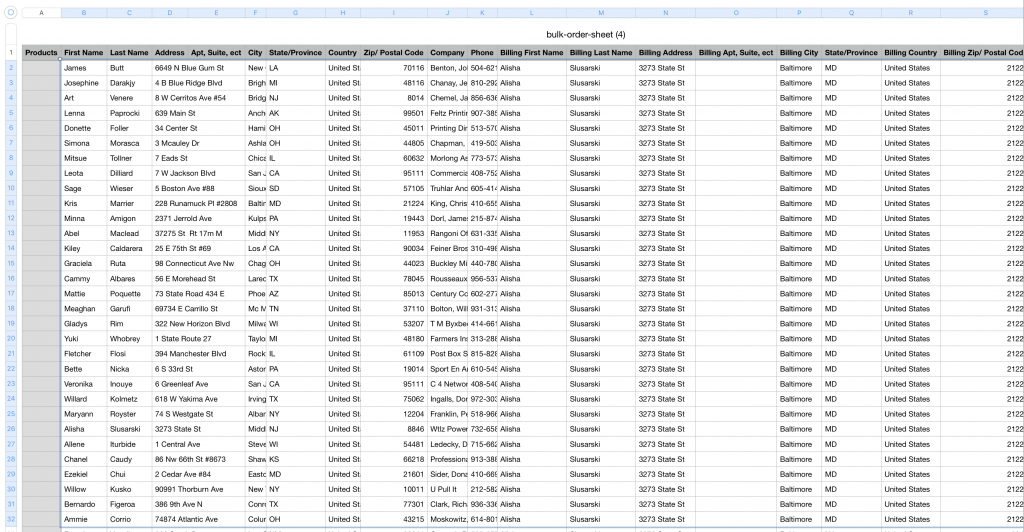
Paste into Wholester by first clicking the topmost “First Name” cell, right clicking on the mouse, and click “paste”, or using CMD / CTRL “V” shortcut.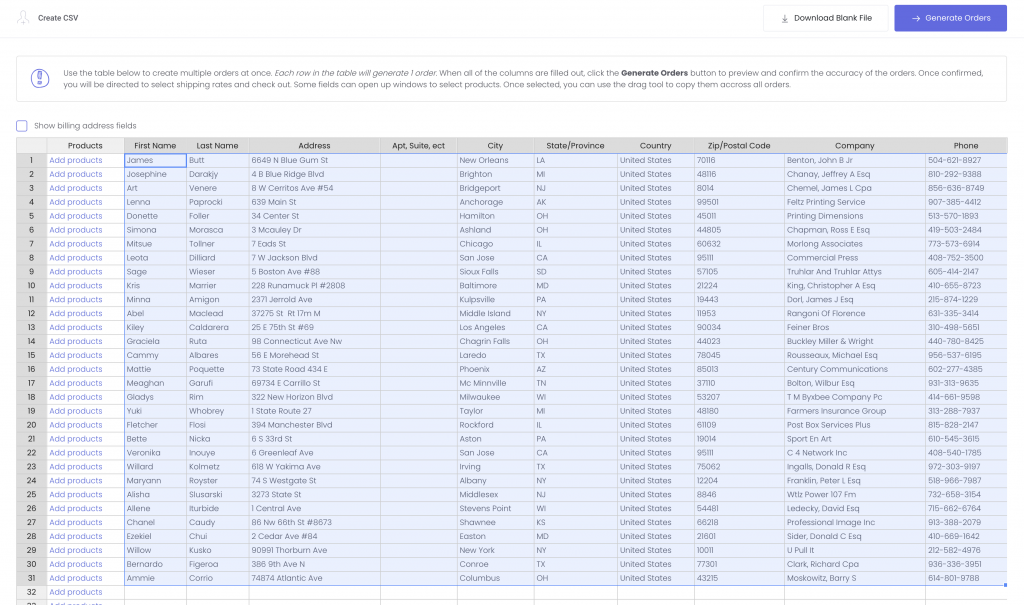
- Once your addresses are in place, click the “Add Products” link next to the first address. This will open the product selection window, where you can search for, and select products to be input. Once all the products are chosen, click the “submit” button in the product selection window.
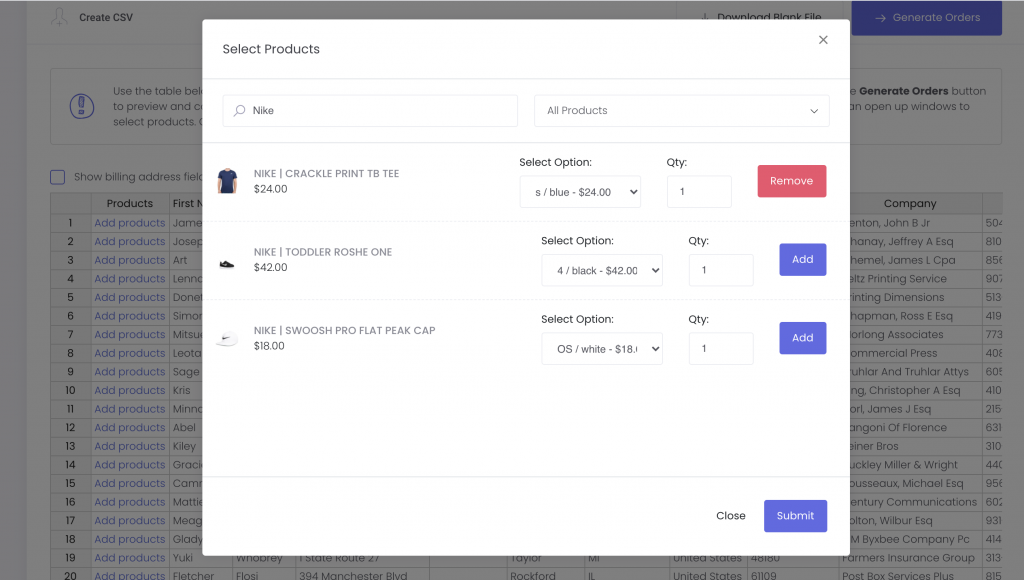
- If you are sending the same item to each address, click the cell containing the product you just added, and hover over the bottom right hand corder to reveal the drag tool. Drag the product name down to fill all cells as show in the video below. If shipping unique items to each address, repeat step 5 for each cell.

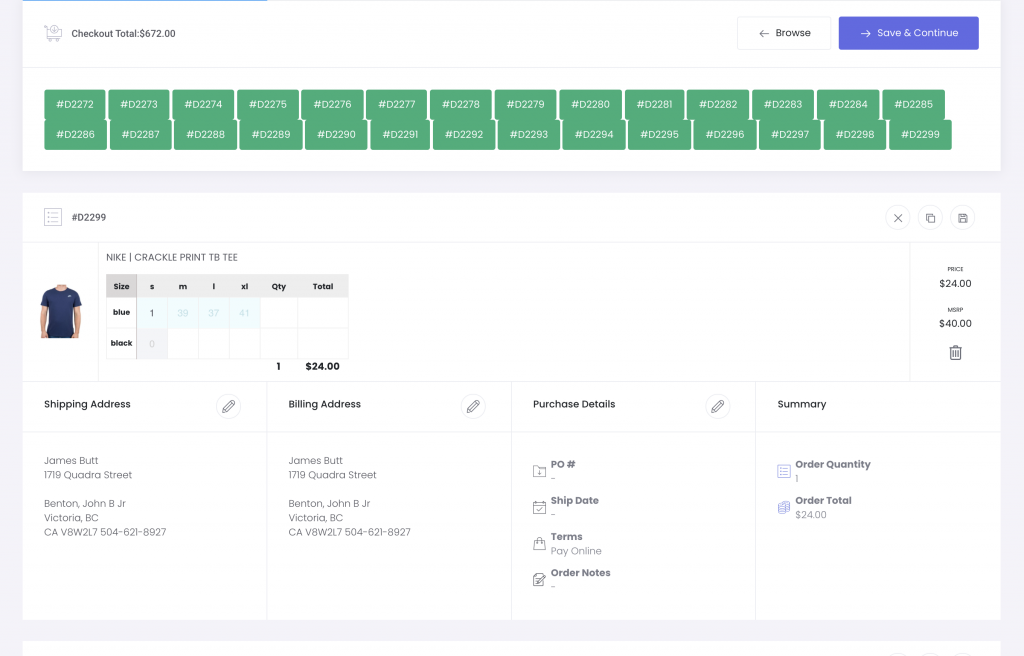
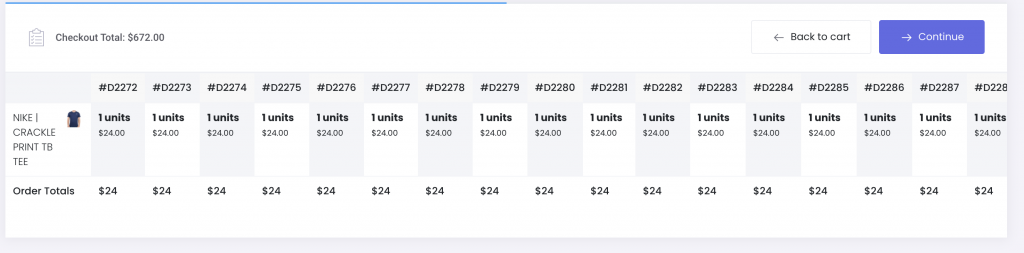
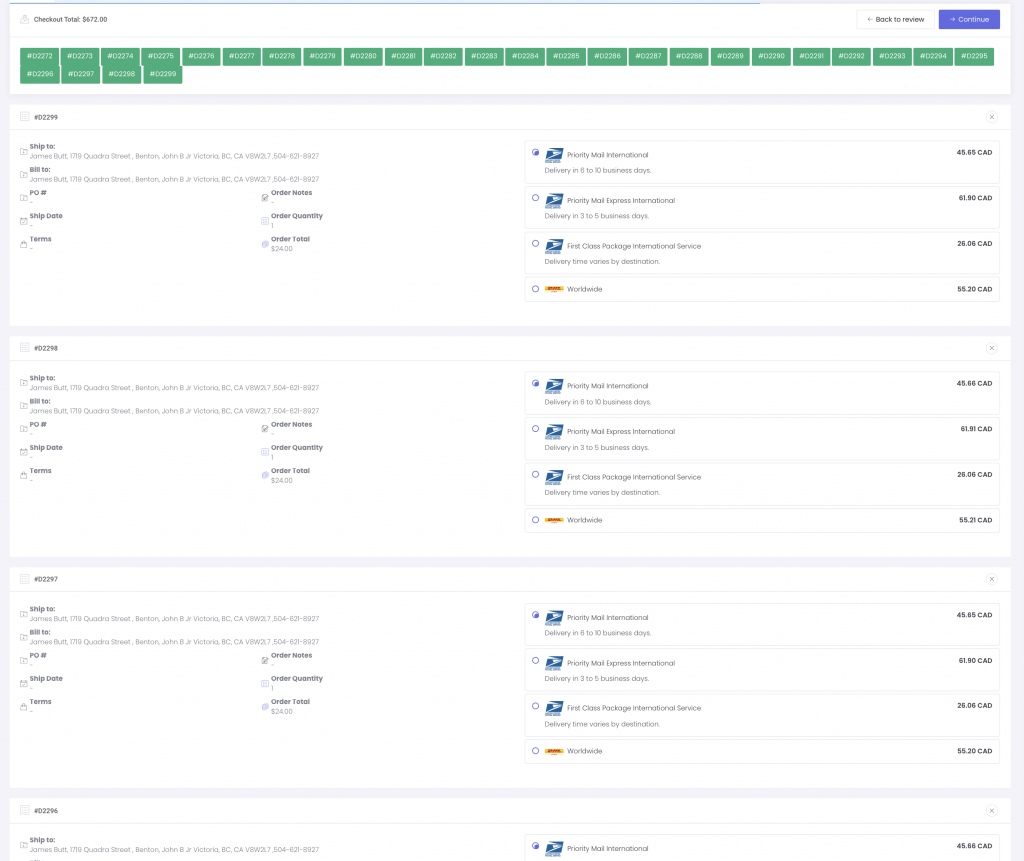
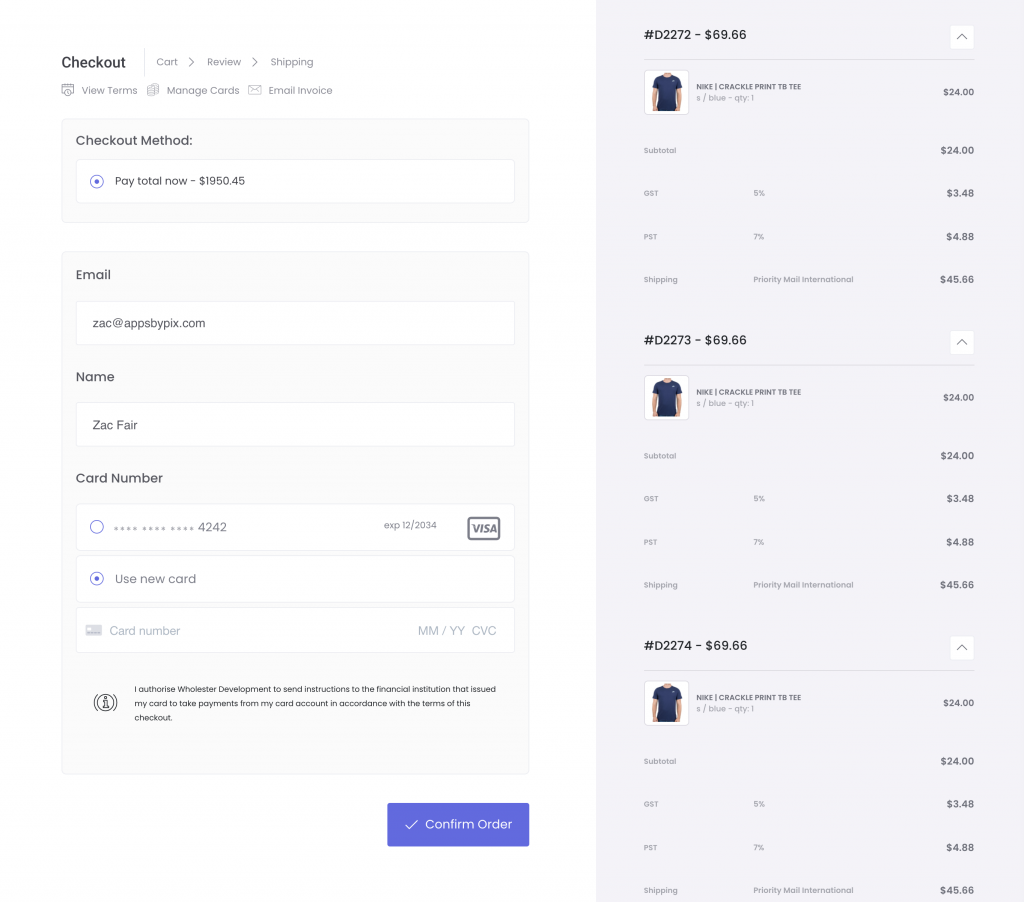
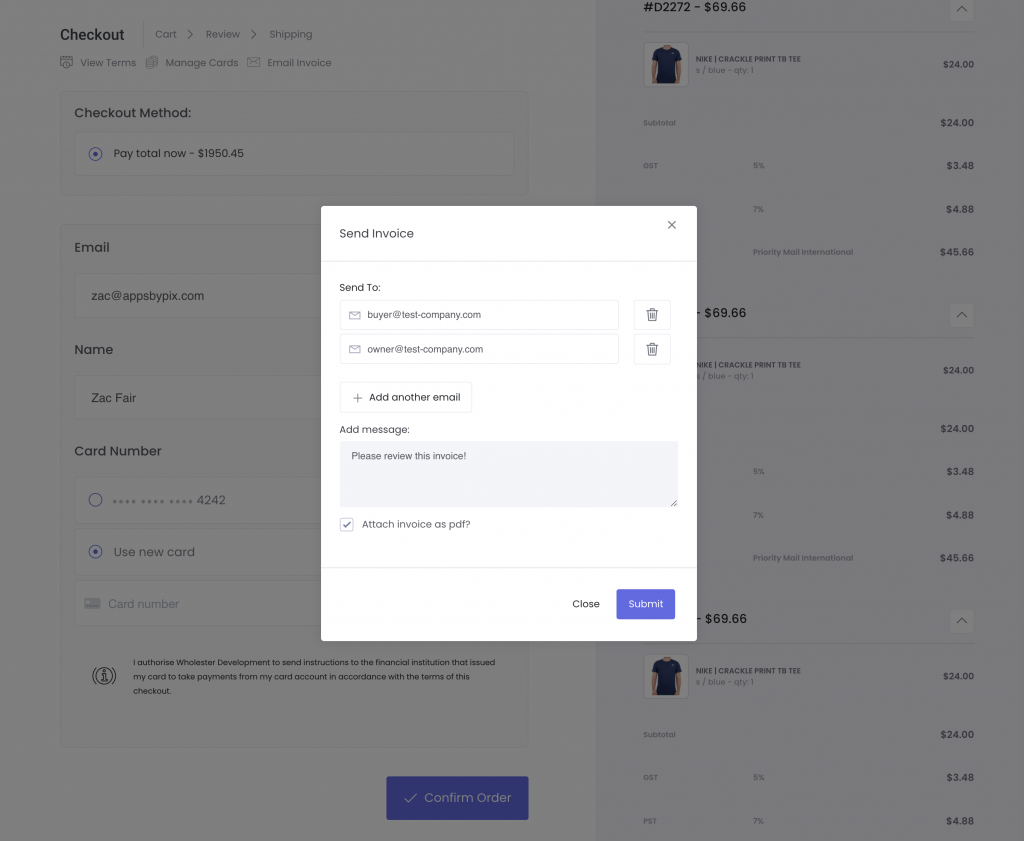
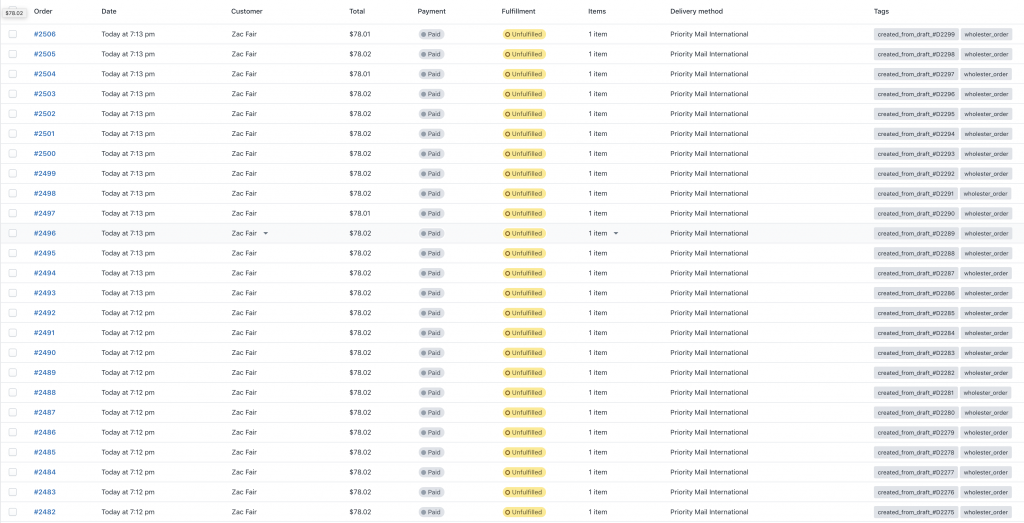
Now that you have successfully generated the orders, and added each order to your cart, you can either complete the checkout process just like a single address order, or send the invoice to the customer for payment.
Can't find the answer in our documentation?
Contact Support Add Gift Messages to CSV Uploaded Orders in Wholster
Setting up product minimums, instead of product increments
Pre-sell products using the incoming inventory feature
Create and Send an Invoice
Creating Wholesale Orders
Require Admin Approval Prior to Completing Invoices
Review & Confirm an Approved Draft Order to Capture Payment
How to Create Multi-address Orders & Invoices via CSV Upload
Setting up Presentations & Prebook Your Products
Creating an Order Going to Multiple Shipping Addresses